How to Install Strong IPTV: The Complete Step-by-Step Setup Guide
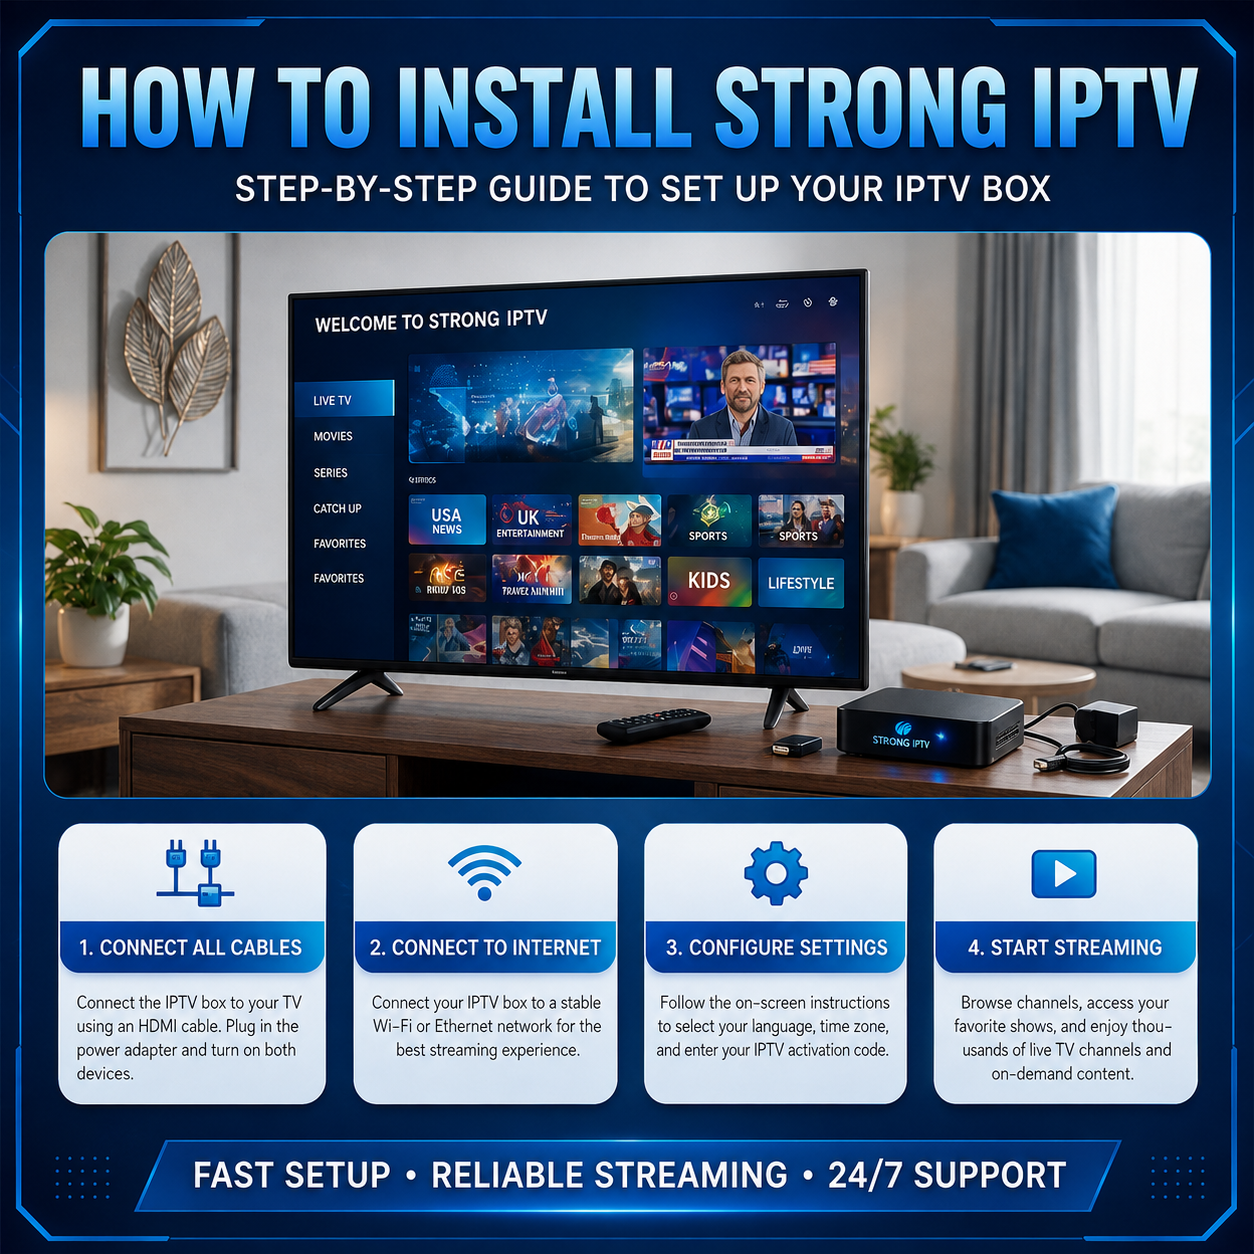
How To Install Strong Iptv If you have gotten a subscription or a trial, for an Strong4k IPTV service and you are looking at a screen and wondering what to do now you are not the only one. Setting up IPTV seems hard the time. Playlist URLs EPG links, M3U files, device apps. But once you know the parts it takes about ten minutes on most devices.
This manual walks you through the entire installation procedure from beginning to end and with choosing the ideal program for your device, properly inputting your credentials, resolving the most frequent mistakes, and achieving a steady, buffer free broadcast. Bookmark it; at some point you will certainly want to return to the troubleshooting area.
LBefore you begin: IPTV (Internet Protocol Television) is merely a delivery technology, much like cable or satellite is a delivery technology. Whether an Strong IPTV subscription server is legal depends completely on whether the service supplier is duly authorized to provide the channels and information it offers. Before subscribing to any service, make sure it has the right to the stuff it’s offering. This guide just discusses the technical setup procedure, which is the same irrespective of the appropriately licensed provider or playlist you are utilizing.
Heads up: Keep your subscription email or account dashboard open in another tab while you follow this guide you’ll need your login details or M3U URL at several points.
Table of Contents
- What You Need Before You Start
- Understanding How IPTV Setup Works
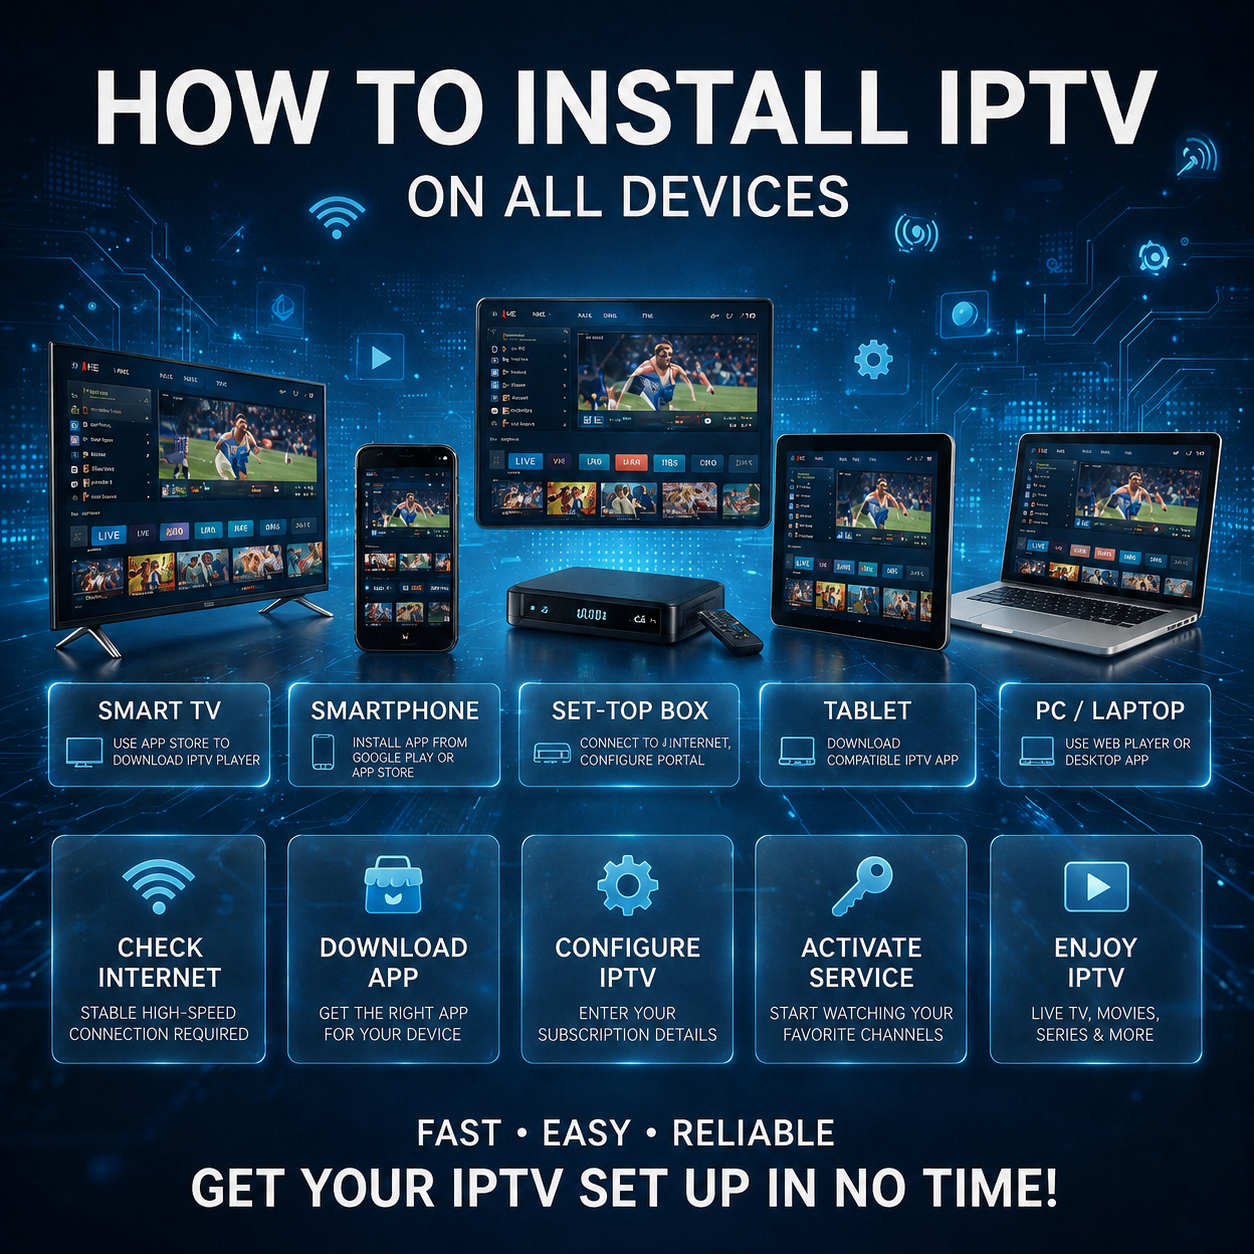
- Choosing the Right App for Your Device
- Installing on Android TV Boxes and Smart TVs
- Installing on Amazon Firestick / Fire TV
- Installing on iOS and Android Phones/Tablets
- Installing on Windows and Mac Computers
- Setting Up Your EPG (Program Guide)
- Common Installation Errors and How to Fix Them
- Optimizing Stream Quality and Reducing Buffering
- Frequently Asked Questions
1. What You Need Before You Start
Before opening any app, gather these three things:
- Your login credentials or M3U/playlist URL. These usually arrive by email right after purchase. You’ll either get a username + password + server URL combination, or a single M3U/M3U8 link.
- Your EPG (Electronic Program Guide) URL, if provided separately. Not all providers include this, but it’s what populates the “what’s on now / what’s on next” info.
- A compatible device. Android TV boxes, Fire TV Stick, Smart TVs (Samsung/LG), iOS/Android phones, and Windows/Mac computers can all run IPTV apps.
Related: [Best Android TV Boxes for Streaming in 2026] if you don’t have a device yet, this comparison breaks down the top options by price and performance.
2. Understanding How IPTV Setup Works
Every IPTV installation follows the same basic pattern, no matter which app or device you use:
- Install a player app (the app itself doesn’t contain any channels it’s just the interface).
- Load your playlist into that app using either your login credentials or your M3U URL.
- Load your EPG so the guide shows program names and times.
- Let the app cache the channel list this can take anywhere from a few seconds to a couple of minutes depending on how many channels are in your package.
Once those four steps are done, the setup is essentially permanent you won’t need to repeat this process unless you change devices, reinstall the app, or your provider issues you a new server URL.
3. Choosing the Right App for Your Device
Not every player app works on every platform, and using the wrong one is the single most common source of “it won’t install” complaints. Here’s a quick breakdown:
| Device | Recommended App Type |
|---|---|
| Android TV box / Smart TV (Android-based) | IPTV Smarters Pro, TiviMate, or the provider’s dedicated app |
| Amazon Firestick / Fire TV | IPTV Smarters Pro (via Downloader app) |
| iPhone / iPad | IPTV Smarters Pro or GSE Smart IPTV (App Store) |
| Samsung/LG Smart TV | Provider’s native app if available, or a browser-based player |
| Windows / Mac | VLC Media Player or IPTV Smarters Pro (desktop build) |
IPTV Smarters Pro vs TiviMate: Which Player Should You Use?
4. Installing on Android TV Boxes and Smart TVs
- Open the Google Play Store on your device.
- Search for “IPTV Smarters Pro” and install it.
- Open the app and select “Login with Xtream Codes API” if you have a username/password/server URL, or “Login with M3U URL” if you were given a single playlist link.
- Enter the details exactly as provided server URLs are case sensitive and often need to include
http://orhttps://and a specific port number. - Tap Add User, then wait while the app downloads your channel list.
- Once loading finishes, you’ll land on the home screen with categories for Live TV, Movies, and Series (if your package includes VOD content).
Tip: If your remote makes typing URLs painful, install a free app like “Send Files to TV” or use a Bluetooth keyboard it saves a lot of frustration on boxstyle remotes.
5. Installing on Amazon Firestick / Fire TV
Fire TV doesn’t include the Google Play Store, so the process is slightly different:
- On the Fire TV home screen, go to Settings > My Fire TV > Developer Options and turn on Apps from Unknown Sources.
- Go back to the home screen and search for “Downloader” in the Amazon App Store. Install it.
- Open Downloader and enter the direct APK download link for IPTV Smarters Pro (available on the developer’s official site) into the URL bar.
- Let it download, then tap Install when prompted.
- Open the app from your Fire TV apps list and follow the same login steps described in Section 4 (Xtream Codes API or M3U URL).
Reminder: Only download APK files from the official developer website. Third-party APK mirrors are a common source of adware bundled into otherwise legitimate apps.
6. Installing on iOS and Android Phones/Tablets
- Open the App Store (iOS) or Google Play Store (Android)
- Download IPTV Smarters Pro or GSE Smart IPTV.
- Open the app, choose Add Playlist, and enter your M3U URL or Xtream Codes login.
- Give the app a minute to sync mobile data connections can make the initial channel list download slower than WiFi.
- Once synced, you can cast to a TV via Chromecast or AirPlay directly from the app, or watch on the device itself.
7. Installing on Windows and Mac Computers
The simplest desktop option is VLC Media Player, which supports IPTV playlists natively:
- Download and install VLC Media Player from the official videolan.org website.
- Open VLC and go to Media > Open Network Stream.
- Paste your M3U URL into the field and click Play.
- VLC will load the playlist as a media list you can browse in the sidebar (View > Playlist).
If you’d rather have a full graphical guide with categories and search, download the desktop build of IPTV Smarters Pro from the developer’s official site and follow the same login steps as Section 4.
8. Setting Up Your EPG (Program Guide)
If your provider gave you a separate EPG URL:
- In IPTV Smarters Pro, go to Settings > EPG Settings (or similar, depending on app version).
- Paste the EPG URL into the field.
- Save and restart the app the guide typically takes one full app restart to populate.
If you don’t have a dedicated EPG URL, many Xtream Codes-based logins already include guide data automatically no extra step needed.
9. Common Installation Errors and How to Fix Them
“Invalid Login” or “Connection Failed”
- Double check your server URL for typos, especially the port number.
- Confirm your subscription hasn’t expired.
- Try switching between
http://andhttps://if one doesn’t connect.
App installs but shows no channels
- Give it a few extra minutes large channel lists (5,000+) can take a while to cache on first load.
- Force close and reopen the app to trigger a re-sync.
“This app isn’t available for your device” on Play Store
- Some player apps aren’t listed in every region’s Play Store. Use the developer’s direct APK download instead (see Section 5’s Downloader method, which also works on Android boxes, not just Firestick).
Black screen when pressing play
- This is almost always a network or server side issue rather than an app problem. Test your internet speed, then contact your provider if the issue persists across multiple channels.
Related: IPTV Buffering Fixes Ways to Get a Stable Stream
This is almost always a network or server side issue rather than an app problem. Test your internet speed, then contact your provider if the issue persists across multiple channels.
One of the most common problems IPTV users face is server connection failure, which often appears as an error message such as “Unable to Connect,” “Server Not Responding,” or similar. This usually occurs after entering an M3U link, Xtream Codes login credentials, or an activation code.
Another common problem is that the IPTV app fails to install completely, stops during installation, or crashes immediately upon opening. This is especially prevalent on Firestick devices, Android TVs, and older smart TVs with limited storage or processing power.
Even after successful installation, many users experience buffering, frame freezes, or video distortion shortly after starting a channel. While not strictly an installation problem, these issues often appear during the initial setup and testing phase and may indicate that the app was not installed correctly.
After installation, some users notice that the application opens correctly, but the channel list is empty, only partially loaded, or a “No channels available” message appears when selecting a channel.
10. Optimizing Stream Quality and Reducing Buffering
- Use a wired connection where possible. Ethernet is far more stable than WiFi for live streaming, especially for 4K channels.
- Close background apps on your streaming device limited RAM on budget Android boxes is a frequent cause of stutter.
- Match your player’s buffer settings to your connection speed. In IPTV Smarters Pro, this is under Settings > Playback Settings > Buffering. Slower connections benefit from a higher buffer (smoother but slightly delayed); faster connections can use a lower buffer for near live playback.
- Restart your router periodically. Consumer routers can develop memory leaks over days of uptime that show up as intermittent buffering.
11. Frequently Asked Questions
Do I need to reinstall the app every time I restart my device? No. Once configured, the app and your playlist stay saved until you manually remove them or reinstall the app itself.
Can I use the same login on multiple devices at once? This depends entirely on your subscription’s connection limit, which your provider sets. Check your account details or ask their support team.
Why do channel numbers or names look different from what I expected? Playlists are organized by the provider, not the app. If categories look off, that’s a playlist/provider side setting, not something the app controls.
Is there a way to back up my setup? Yes most player apps let you export your playlist configuration as a backup file from the settings menu, which you can re-import if you switch devices.
Conclusion
The installation process itself is really simple; most people can get everything set up in under ten minutes once they have their login information. Your internet connection and the user interface of the music player app you personally favor contribute most to your daily experience. Work through Section 10 if channels stutter following setup before presuming anything is wrong with the application itself. Got a particular error message not included above? Drop it in the comments with your device type and app name; I’ll assist you in troubleshooting.